The Serverless Framework and Serverless architectures have made some best practices for structuring apps obsolete. It’s truly a mind shift when building for run time platforms like AWS Lambda.
Switching to a different runtime environment shouldn’t mean that we need to completely throw out everything and start over. If your application is built with the Express.js framework it’s possible to switch it to run in AWS Lambda without having to rewrite everything.
There are a few advantages to make running in serverless worthwhile:
- AWS Lambda autoscales pretty quickly. It’s possible to go from 0 to 100’s of parallel users in a short timeframe.
- No use = 0 costs. As the amount of users increase, the costs increase. I’ve seen businesses have a million monthly active users with costs < $1,000.
- It’s possible to have the dev environment and production environment match pretty well and keep costs pretty low.
You can read more about the benefits of the serverless framework in the blog article Getting started with Serverless Framework.
*As we are going through this tutorial, always remember that AWS Lambda is stateless – there’s no cookies. The only context or state that we have is what’s being passed in to the request. *
Step 1: Prepare for static hosting in AWS S3
AWS S3 can do a lot more than just store files, we can use it to host static websites very cheaply. With AWS Cloudfront it’s possible to get a static website with caching and free SSL. AWS Amplify makes it pretty painless to get a React or Angular website set up pretty quickly.
Step 2: Convert the Application to use AWS Lambda
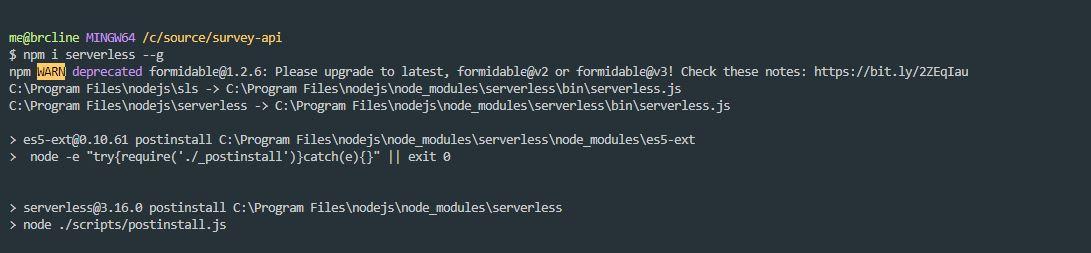
If you haven’t already, you will need to install the serverless framework globally. This can be done by running the command “npm i serverless –g”. You may need to run a terminal with admin privileges on Windows or run with Sudo on Mac/Linux/Unix.
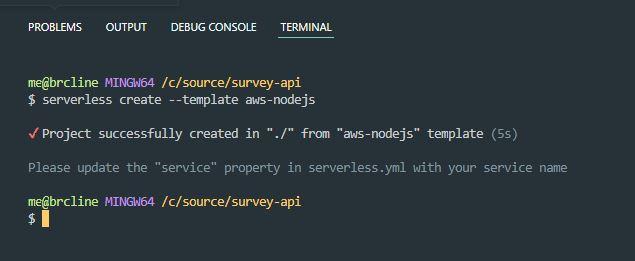
In the root of your project, you will need to initiate serverless if you haven’t already. This is done using the serverless create command with a template. For the most part, you probably want to use the aws-nodejs template (we’ll need to make a few changes after. 😊 )
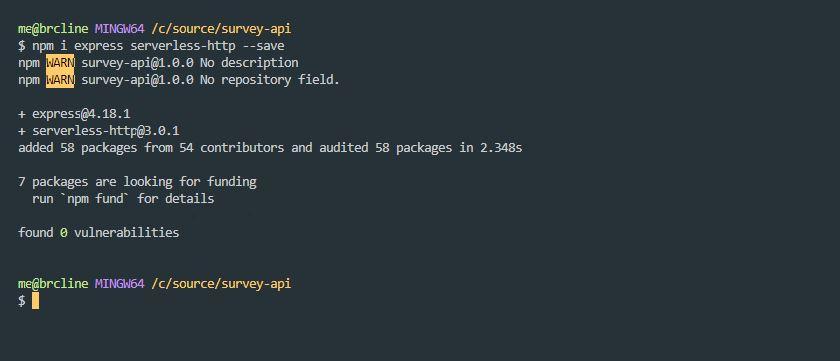
Next, we need to install express (if you aren’t already using it) and serverless-http.
Wonderful, now we have everything installed that we need. We can now start actually modifying the project.
The template we chose may have caused a file to be created that’s called “handler.js” in the root of the project. This was expected. We have two options here. I recommend having a look at it and then ignoring it for now. Alternatively, you could move everything from the index.js into this file.
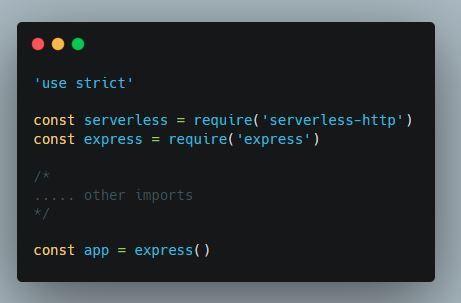
Open up your index.js file and we’ll need to make some changes to it. Immediately at the top of it, we need to require the serverless-http package.
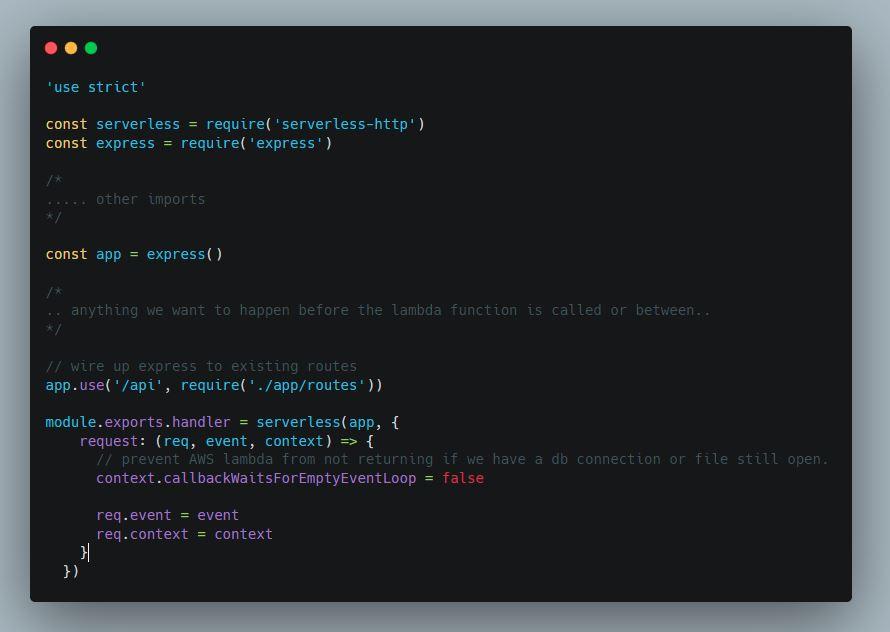
It is very important that anything that needs to happen across requests is done outside of the function handler. Ideally before the lines module.exports.handler line.
For example, if you need to create a connection to a MySQL database or a MongoDb server you want to make that request before hand.
Next, we need to pass our routes into express. Likely you’re already doing something like this.
And then finally, at the bottom of our file we need to add the module.exports.handler.
Great, we can save our index.js file now and now open up the other file that has been created called “serverless.yml”.
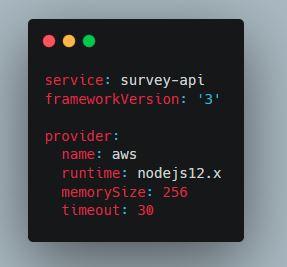
The first thing that I do is delete the comments at the top of the file. I just don’t see value in them. Next, I remove the comments about overwriting the defaults here to line 10 (region: us-east-1).
I then add keys for memorySize and timeout. The memory size dictates the amount of memory to use in megabytes, the cpu to use, and how fast it is with the network. There’s no magic number that will work with your use case.
Valid values are between 64mb and 10gigabytes at the time of writing. I’ve never had a function use more than 1024mb.
I then add the region as a passed in option, so I can support different regions. Ideally a different region for each stage.
We then need to change the section for the handler to point to “index.handler” and use the API gateway. This is what my completed serverless.yml file looks like.
service: flangetrak-api
provider:
  name: aws
  runtime: nodejs12.x
  memorySize: 1024
  timeout: 30
  region: ${opt:region}
functions:
  app:
    handler: index.handler
    events:
      - http:
          path: /
          method: ANY
          cors: true
      - http:
          path: /{proxy+}
          method: ANY
          cors: true
At this point, we aren’t handling our secrets. There’s a few different possible ways we could approach this. I prefer to use a json file for each stage, but that isn’t always right. A few projects I’ve worked on use the serverless .env plugin.
Once you have this set up you should be able to deploy your project to AWS Lambda and get started. The blog article Getting Started With the Serverless Framework covers some additional details that you may need.
Step 3: Split the Application into Smaller Functions
I recommend splitting the express app into different sections based on the logical business units. For example, a microservice around Users or Employees is usually a logical choice. I recommend a separate lambda project for each major group – Users or Employees.
Wrapping it Up
AWS Lambda allows us to dramatically lower our costs for running an application. It’s fairly easy to convert an Express.js app into running in the serverless framework.

")


